


The Ultimate Guide to MySQL ODBC Connections
July 13, 2023
In this comprehensive guide, we delve into the world of Open Database Connectivity (ODBC), a universal data access method that plays a pivotal role in database connectivity. We’ll also explore the significance of MySQL, one of the most widely used open-source relational database management systems globally. By understanding the synergy between MySQL and ODBC, you can unlock new levels of efficiency and effectiveness in your data management tasks. Let’s embark on this journey to master MySQL ODBC connections.
About MySQL and ODBC
MySQL is a highly popular open-source relational database management system (RDBMS) used by developers worldwide. It’s known for its speed, reliability, and ease of use. MySQL supports a broad subset of ANSI SQL 99, as well as extensions and specific features for compatibility with MySQL Server versions. Key features of MySQL include its robust data security, scalability, and flexibility, making it a preferred choice for many web-based applications, data warehousing, and logging applications.
Open Database Connectivity (ODBC) is a standard Application Programming Interface (API) that allows external applications to access data from a common database or cloud application. It provides maximum interoperability, meaning a single application, independent of any data store, can access data through an ODBC driver. This driver serves as an interface between an application and a data source. The ODBC API is independent of any DBMS, programming language, and operating system.
The MySQL ODBC Connector, also known as MySQL Connector/ODBC, plays a crucial role in this context. It is an ODBC driver that enables applications and programming languages to access data in MySQL database management systems through the ODBC interface using SQL. This connector is easy to install and configure, and it allows applications to communicate with MySQL databases, retrieve data, and run queries. It is a key component in ensuring seamless interaction between applications and MySQL databases.
Installation of MySQL ODBC Connector
Follow the steps below to install the MySQL ODBC Connector on your Windows machine:
- Download the Installer: Visit the MySQL official website or a trusted source to download the MySQL ODBC Connector installer.
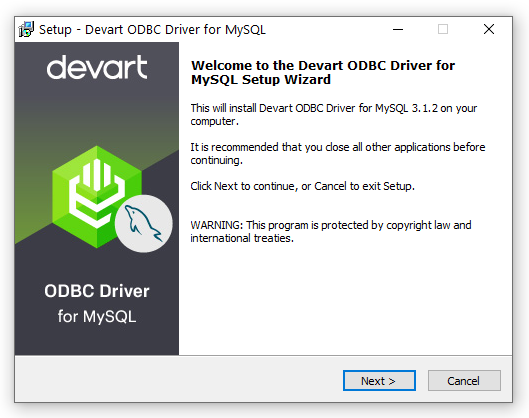
- Run the Installer: Locate the downloaded file on your computer and double-click it to run the installer.
- Overwrite Warning: If you already have a version of the MySQL ODBC Connector installed, you might receive a warning about overwriting existing files. It’s recommended to uninstall the previous version before proceeding with the new installation. Click ‘Yes’ to proceed.
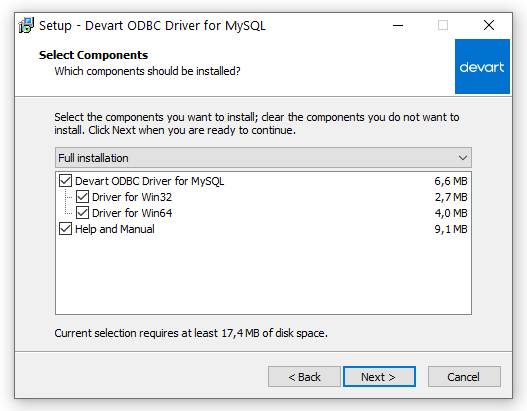
- Select Components: During the installation process, you’ll reach a ‘Select Components’ page. Here, you can choose whether to install the 64-bit version of the driver. If you don’t need the 64-bit version, uncheck the box. There’s also an option to install the Help and Manual files.
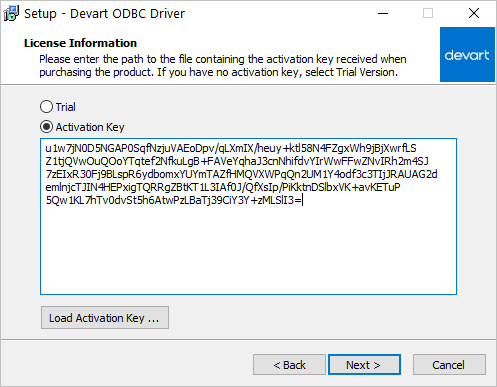
- License Information: In the ‘License Information’ dialog box, select the license type and activate the product. If you don’t have an activation key, select ‘Trial’ to use the driver for evaluation purposes.
- Enter Activation Key: If you have an activation key, select the ‘Activation Key’ option. Copy the activation key from your registration email or your Customer Portal account and paste it into the ‘Activation Key’ edit box.
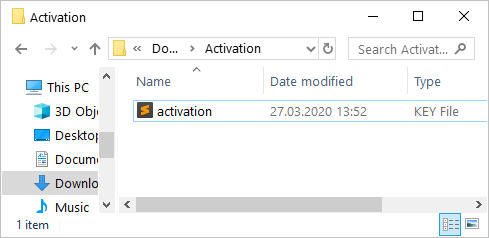
- Load Activation Key File: If you have an activation key file, click the ‘Load Activation Key’ button and browse to the location of the file on your computer.
- Proceed with Installation: Click ‘Next’ to proceed with the installation.
- Install and Finish: Click ‘Install’ to begin the installation process. Once the installation is complete, click ‘Finish’.
- Configure the Driver: After the installation is completed, you will need to configure the MySQL ODBC Connector to suit your specific needs.
Remember to restart your system after the installation to ensure that all changes take effect properly.
Step-by-Step Guide to Connect to a MySQL Database with MySQL Connector/ODBC
Follow these steps to connect to a MySQL database using the MySQL Connector/ODBC:
- Install MySQL Connector/ODBC: If you haven’t already, download and install the MySQL Connector/ODBC from the official MySQL website or a trusted source. Follow the installation instructions provided.
- Open the ODBC Data Source Administrator: Type “ODBC Data Sources” in the Windows search box and choose the application that matches the bitness of your application (32-bit or 64-bit). Alternatively, you can open ODBC Data Sources from Control Panel > Administrative Tools. For a 32-bit DSN, you can run C:\Windows\SysWOW64\odbcad32.exe, and for a 64-bit DSN, run C:\Windows\System32\odbcad32.exe.
- Select the DSN Type: In the ODBC Data Source Administrator, select either the User DSN or System DSN tab. Most applications work with both types, but some require a specific type of DSN.
- Add New Data Source: Click ‘Add’ to create a new data source. The ‘Create New Data Source’ dialog will appear.
- Select MySQL ODBC Driver: In the list of drivers, select ‘MySQL ODBC Driver’ (or ‘MySQL Connector/ODBC’ depending on your version) and click ‘Finish’. The driver setup dialog will open.
- Enter Connection Information: In the setup dialog, enter the connection information for your MySQL database in the appropriate fields. This typically includes the server’s name or IP address, the database name, and your username and password.
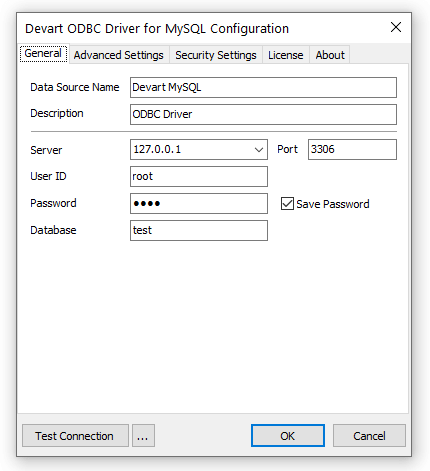
- Test the Connection: Click ‘Test Connection’ to verify that the settings are correct and a connection can be made to the MySQL database.
- Save the DSN: Click ‘OK’ to save the Data Source Name (DSN). Your application can now use this DSN to connect to the MySQL database through the MySQL Connector/ODBC.
Remember, the exact steps and options might vary slightly depending on your version of Windows and the MySQL Connector/ODBC.
Alternative Method: Connecting to a MySQL Database with OData
While MySQL ODBC Connector provides a robust and reliable way to connect to MySQL databases, there are alternative methods that can be used. One such method is using OData (Open Data Protocol), a widely accepted open standard for data access over the Internet.
Skyvia, a cloud data platform, allows you to connect to any data source that provides an OData interface for data access over the web. This includes MySQL databases. Skyvia supports importing data to and from OData endpoints, exporting their data to CSV files, and replicating their data to relational databases.
To connect to an OData endpoint, you need to specify its URL, and, if necessary, provide authentication parameters. Here’s how you can do it:
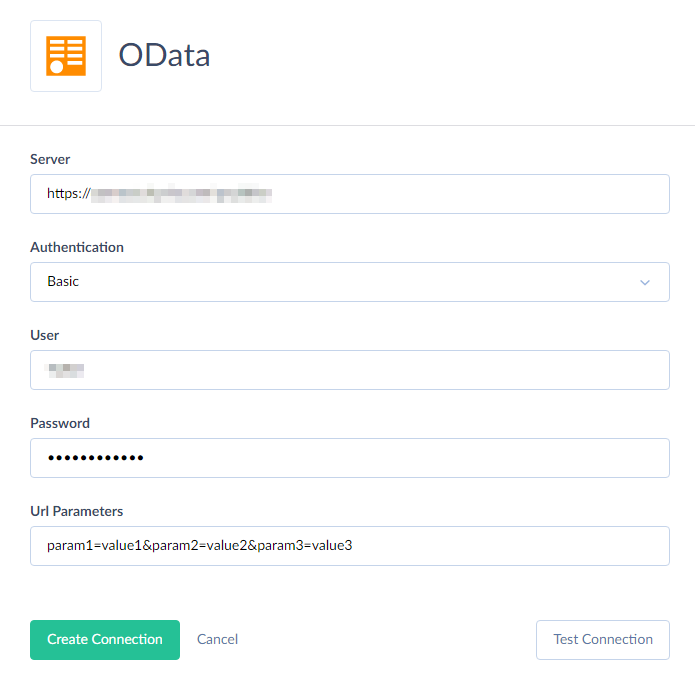
- Specify Server: Enter the OData endpoint URL.
- Select Authentication Method: Skyvia supports OData endpoints without authentication and with basic HTTP authentication.
- Enter User and Password: If you’re using basic HTTP authentication, enter your username and password for the OData endpoint.
- Specify URL Parameters: If necessary, you can specify custom query string parameters for HTTP requests. The value should be encoded as a part of a URL and have the usual query string format: param1=value1¶m2=value2¶m3=value3
Once you’ve set up the connection, you can use Skyvia’s data integration features to interact with your MySQL database. However, it’s important to note that Skyvia does not support OData endpoints in synchronization packages and does not support Replication with Incremental Updates selected for OData endpoints. When updating data via UPDATE statements in Query, you can only provide constant values for the columns. You cannot use expressions with current column values.
In conclusion, while OData provides an alternative method for connecting to MySQL databases, it has its own set of features and limitations. Depending on your specific needs and circumstances, you might find that using OData is a more suitable option than using the MySQL ODBC Connector.
Summary
The MySQL ODBC Connector is a powerful tool that offers a standardized and efficient way to connect your applications to MySQL databases. Its versatility and wide acceptance make it a valuable asset in the world of database management. By leveraging the MySQL ODBC Connector, you can unlock new levels of interoperability, efficiency, and data integration. Whether you’re a seasoned database professional or a beginner, we encourage you to explore the benefits of using the MySQL ODBC Connector. Start connecting your applications to MySQL databases using this tool and experience the difference it can make in your data management tasks.

